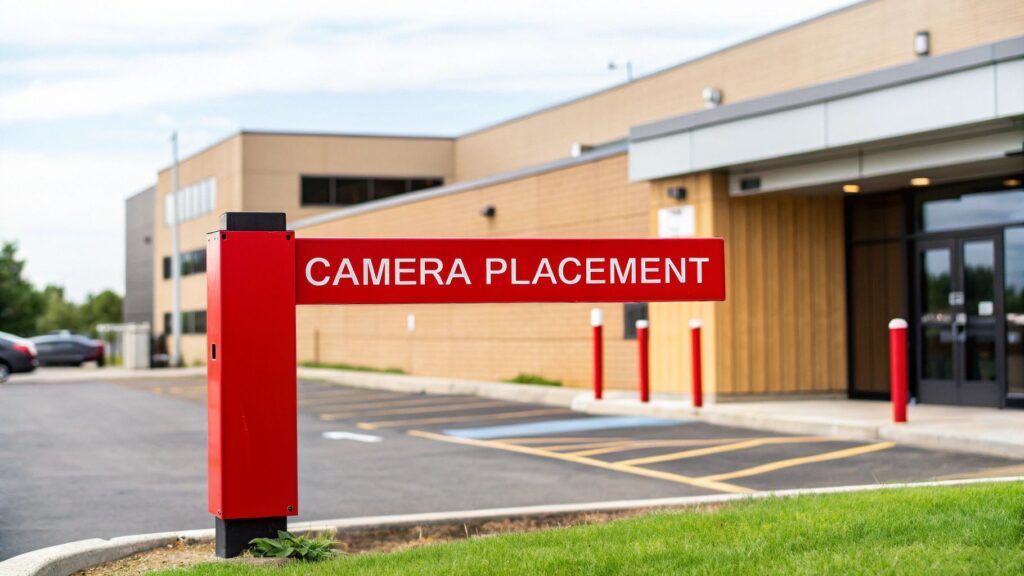
Determining where to place surveillance cameras isn't just a technical task—it's a critical part of your overall security strategy. For property managers, HOA boards, and business owners, the most effective locations are your most vulnerable points: all main entry and exit doors, accessible ground-floor or off-street windows, and your primary driveways or parking areas. These placements capture the most critical activity and serve as the strongest deterrents.
Developing Your Surveillance Placement Strategy
Before installing a single camera, it's essential to define your goals. A camera intended to deter shoplifters at a retail entrance serves a very different purpose than one monitoring a construction site perimeter after hours. Your objectives will guide everything from placement to the type of camera technology you need.
Effective surveillance isn’t about blanketing a property with cameras; it’s about building a smart, efficient security ecosystem that targets specific risks. Thoughtful planning ensures you maximize the return on your security investment.
Defining Your Security Objectives
First, ask what a successful outcome looks like for your property. Is your primary goal to prevent unauthorized access after business hours? Do you need to mitigate liability risks in common areas? Or is it about capturing clear, identifiable footage of an individual involved in an incident? Clarifying these goals is the foundation of a solid plan.
For most commercial and residential properties, the objectives fall into a few key categories:
- Deterrence: Highly visible cameras are excellent at discouraging potential intruders, vandals, and trespassers. This is a primary goal for areas like parking lots and building exteriors.
- Identification: Capturing crisp, high-quality images of faces and license plates is crucial for any investigation. This requires careful placement at entry points and natural chokepoints.
- Operational Oversight: Monitoring daily activities, such as deliveries at a loading dock or the flow of people through a lobby, helps ensure safe and smooth operations.
- Incident Verification: When an alarm is triggered, cameras provide a remote team—like a Security Operations Center (SOC)—with immediate visual confirmation, enabling a swift and accurate response.
A common oversight is prioritizing wide-angle views everywhere. While a broad perspective is useful for perimeters, you absolutely need a tighter, more focused view to capture identifiable details at critical spots like doors and gates. A strategic mix is far more effective than just maximum coverage.
A simple way to connect your goals to camera locations is to map them out. This table can help you get started.
Matching Security Goals with Camera Locations
| Security Goal | Primary Placement Location | Best For Property Type |
|---|---|---|
| Deter unauthorized access | Building exteriors, fence lines, rooftops | Commercial, Industrial, HOA |
| Identify individuals | Main entrances, reception desks, gates | Retail, Office, Residential |
| Monitor vehicle traffic | Driveways, parking lot entrances/exits, loading docks | All types |
| Reduce liability risks | Common areas, lobbies, swimming pools, gyms | HOA, Commercial, Hospitality |
| Oversee daily operations | Loading docks, employee entrances, stock rooms | Retail, Industrial, Warehouse |
Thinking through these pairings helps ensure every camera has a clear purpose, making your entire system more effective from day one.
Conducting a Site-Specific Risk Assessment
Every property has unique vulnerabilities. A retail center in Los Angeles faces different threats than a residential HOA in San Jose. The best approach is to physically walk your property and identify high-risk zones.
Where are the blind spots? Which areas are poorly lit at night? Are there unmonitored entry points or unsecured assets? Answering these questions helps you build a camera layout that addresses real-world threats. For a more comprehensive approach, our guide on securing a building provides a framework that complements your camera placement strategy. This process ensures your surveillance plan is proactive, not just a reaction after an incident.
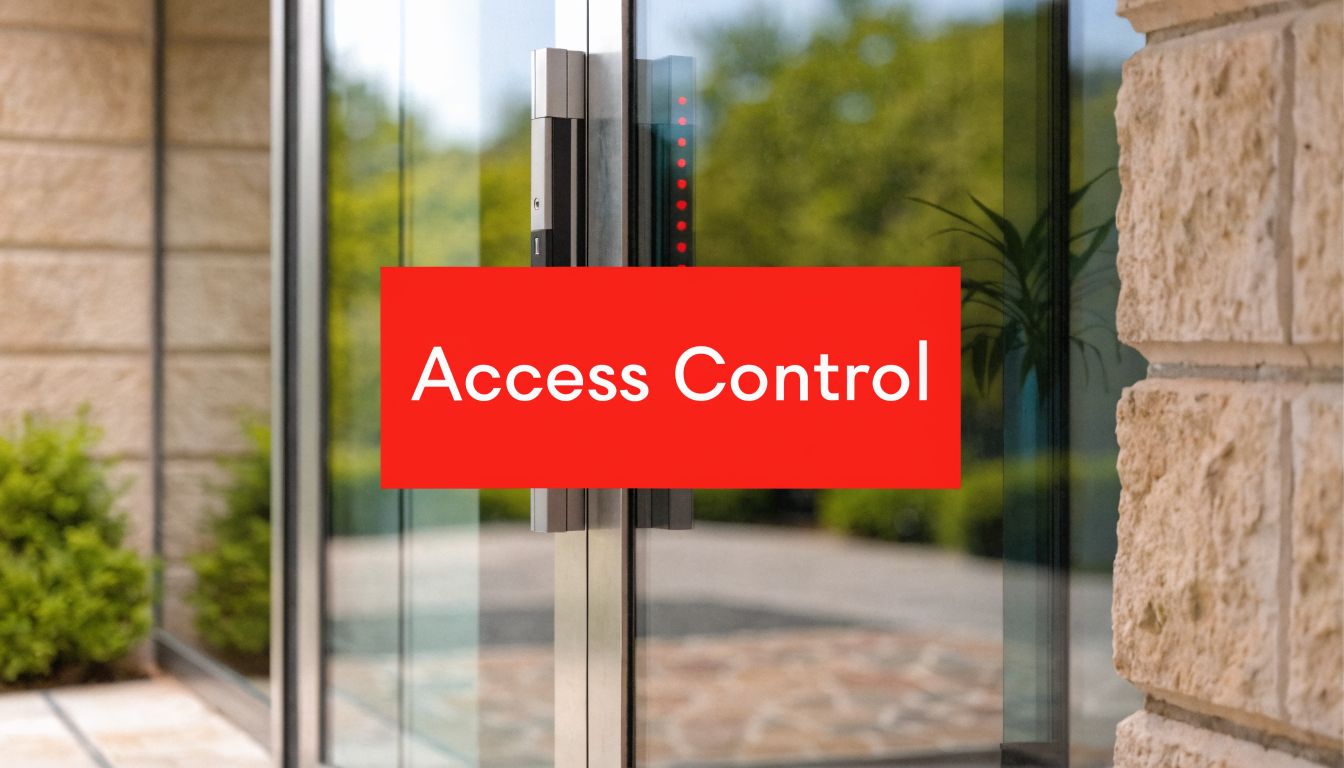
Securing Your Most Critical Entry and Exit Points
Every door on your property is a potential point of failure. While the main lobby sees the most traffic, the loading dock out back or a rarely-used side entrance are just as critical. Strategically placing cameras at these control points is one of the most impactful security decisions a property manager or business owner can make.

It’s not enough to simply mount a camera on a wall. The type of camera and its precise positioning are what deliver real security value. The objective is to create a reliable visual log of everyone who comes and goes, serving as both a powerful deterrent and an essential investigative tool.
Choosing the Right Camera and Lens
The choice between a wide-angle and a narrow-focus lens directly impacts the utility of your footage. Each has a specific role, especially at an entrance.
-
Wide-Angle Lens: This is your "big picture" camera. It's ideal for a general overview of an entire area, like a building lobby or storefront. It captures the flow of traffic and provides context but sacrifices fine detail at a distance.
-
Narrow-Focus (Telephoto) Lens: When you need clear, identifiable facial details, this is the correct tool. This camera should be positioned directly over a doorway or aimed at a key card reader. Its sole purpose is identification.
For a main entrance, the best practice is to use both. A wide-angle dome camera can monitor the lobby, while a dedicated bullet camera is aimed squarely at the door to capture a crisp, forward-facing image of every person who enters.
This dual-camera strategy provides both context and detail, covering all your bases. It becomes even more powerful when integrated with other security technologies. For instance, our guide on building access control systems explains how cameras can work in tandem with card readers to visually confirm every entry.
Optimal Mounting Height and Angles
Where you physically mount your cameras is just as important as the technology inside them. A high-quality camera mounted poorly may be completely ineffective.
One of the biggest challenges at doorways is backlighting—the effect where bright sunlight from outside washes out a person's face. The solution is to position cameras facing away from the main light source. Instead of mounting a camera inside and pointing it directly at a glass door, place it off to the side or above, angled downward.
Here are a few reliable guidelines for your entry and exit points:
- Mounting Height: The ideal range is typically between 8 and 12 feet. This is high enough to be out of easy reach but low enough to capture faces clearly, avoiding the unhelpful "top-of-the-head" view.
- Camera Angle: Aim the camera downward at a 15 to 30-degree angle. This provides a clear shot of faces while reducing glare from overhead lighting.
- Placement: Consider mounting the camera on the wall adjacent to the door frame or directly above it, looking slightly away from the entrance. This often captures a better facial image as people turn to enter.
For the busy retail centers and commercial buildings we support across California, this is a proven strategy. Well-placed, visible cameras at entrances can reduce shoplifting incidents by up to 65%. It's a simple fact: potential thieves reconsider when they know they are being clearly recorded. For more data, research on the effectiveness of video surveillance in deterring crime supports this. This strategic placement creates an undeniable record of who is coming and going, protecting both people and property.
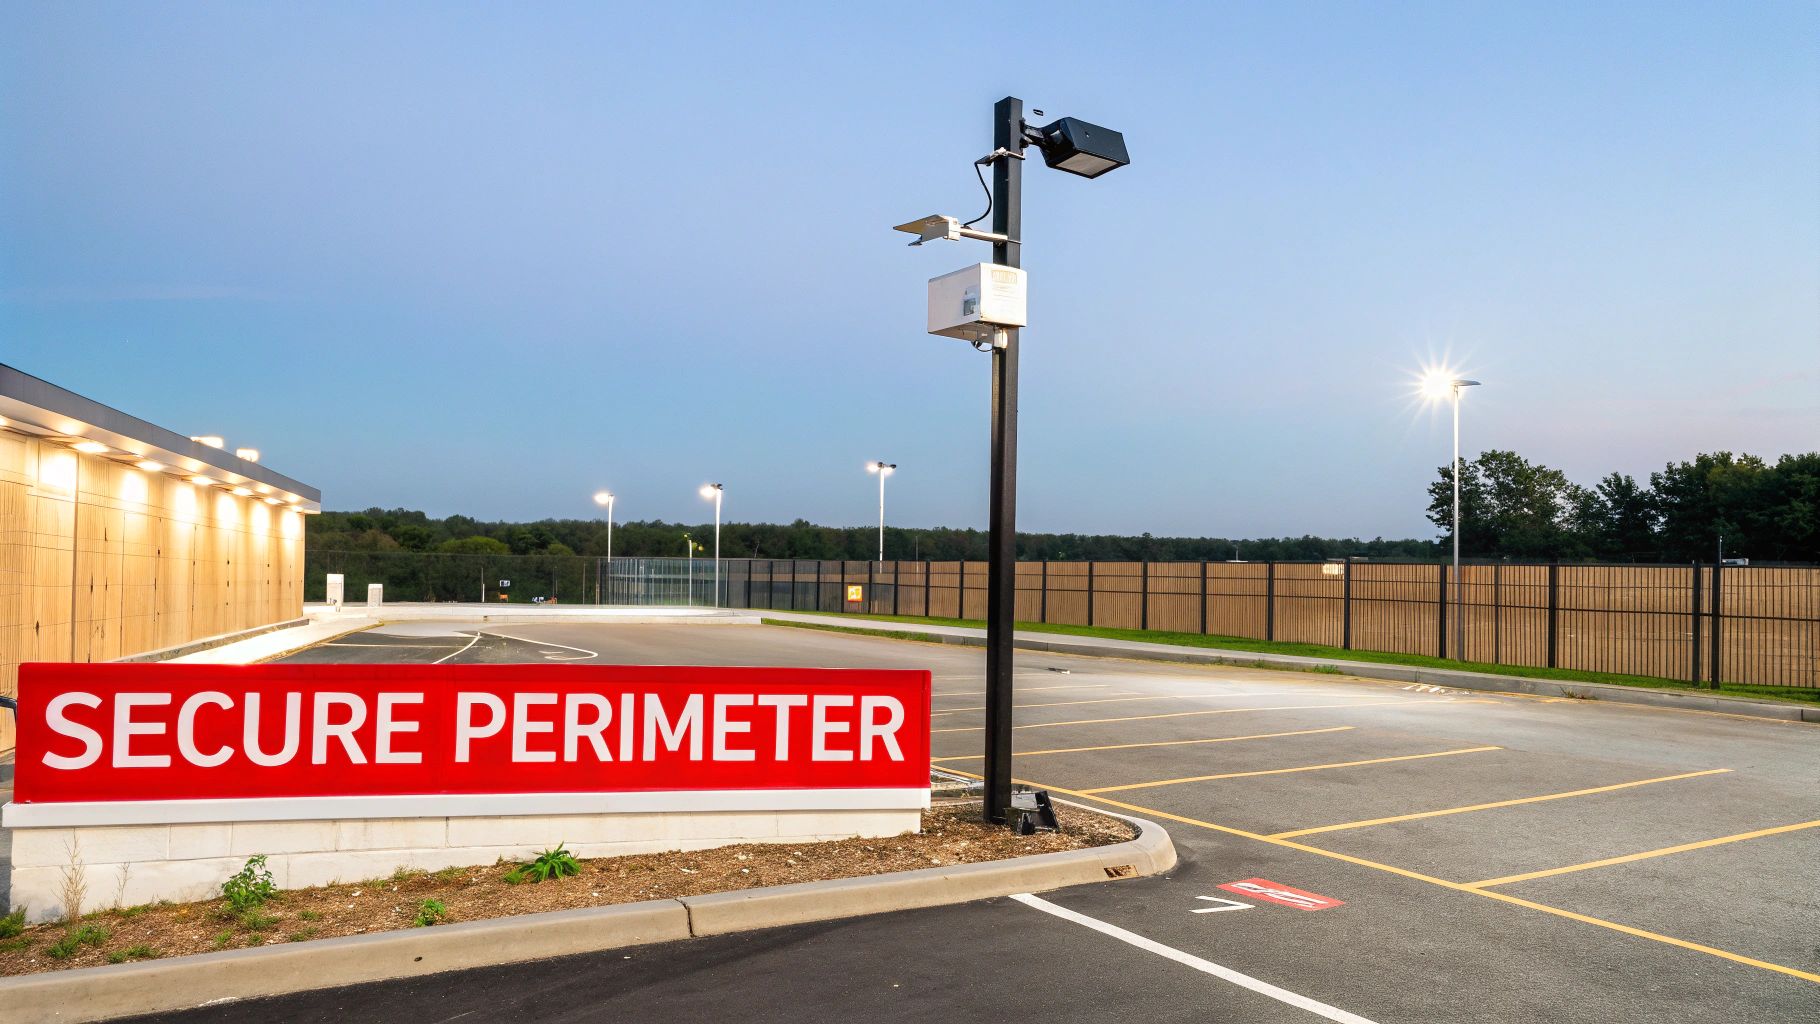
Protecting Perimeters and Parking Areas
Your property's security doesn't start at the front door—it begins at your property line. Parking lots, garages, and perimeter fences are often the first points of contact for unauthorized individuals. Effectively monitoring these open areas is a foundational step in creating a secure environment, allowing you to detect threats before they reach your building.
Securing these large spaces presents a different challenge than monitoring a single doorway. The goal is to create overlapping fields of view that eliminate blind spots, monitor vehicle and foot traffic, and deliver clear footage, even in adverse weather conditions.
Strategic Placement for Parking Lots and Garages
Parking areas are high-risk zones for everything from vehicle break-ins to personal safety incidents. A robust camera placement strategy must cover three critical areas: entrances and exits, driving lanes, and pedestrian walkways.
-
Entrances and Exits: Position cameras to capture clear images of license plates for every vehicle. This requires a narrow-focus lens mounted at a lower angle to get a direct shot of the plate, avoiding steep overhead views that make them unreadable.
-
Driving Lanes: Use wide-angle cameras here. Mount them on light poles or building corners to get a broad overview of the entire lot. These cameras are your eyes for tracking vehicle movement and identifying suspicious behavior, like a car slowly circling.
-
Pedestrian Walkways and Choke Points: Don't forget people on foot. Cameras should monitor paths from parking areas to building entrances. In parking garages, this includes covering elevator lobbies and stairwells.
For the residential communities and high-rises we serve in cities like Oakland and Long Beach, proper camera placement in parking garages and along fences significantly reduces vehicle theft. Data indicates that 72% of residential break-ins occur through unsecured perimeters or garages. By placing cameras at 10-15 foot heights along fences and at garage entrances—equipped with night vision and motion detection—those incidents can drop by as much as 55%.
Covering Long Perimeters and Fence Lines
Securing a long fence line requires a thoughtful approach. Placing a few cameras far apart creates significant blind spots where an intruder can slip through undetected.
The most effective method is to create a "digital fence" with overlapping camera views. The key is to mount cameras along the perimeter and aim them parallel to the fence line, not straight out from it. This technique allows each camera to cover the blind spot directly beneath the next one, creating a seamless chain of surveillance.
A common mistake we see is pointing perimeter cameras outward into the darkness. Instead, aim them along your fence line. This not only maximizes your coverage but also leverages your property's lighting, resulting in much clearer images of anyone approaching the boundary.
Physical barriers are an excellent complement to your camera strategy. When securing your perimeter, options like chain-link fencing solutions can provide a physical deterrent while still allowing for the clear camera sightlines you need.
Choosing the Right Cameras for Outdoor Environments
Outdoor environments are harsh on electronics. They require specialized cameras built to withstand the elements and perform in changing light. For perimeters and parking lots, two types are particularly effective:
-
PTZ (Pan-Tilt-Zoom) Cameras: These are ideal for actively monitoring large, open areas. A remote operator, either onsite or in a Security Operations Center (SOC), can control the camera to pan across a lot, tilt up to a rooftop, or zoom in to identify a person or vehicle with exceptional detail.
-
Thermal Cameras: Unlike standard cameras that rely on visible light, thermal cameras detect heat signatures. This makes them incredibly reliable for spotting intruders in complete darkness, fog, or heavy rain. They are a powerful tool for after-hours perimeter protection.
Ultimately, the best perimeter security integrates this technology with human expertise. Pairing a well-designed camera system with professional vehicle patrols creates a formidable defense. The cameras serve as constant eyes, while the mobile security officer provides a visible presence and the ability to respond to incidents in real time.
Monitoring High-Value Interior Spaces
While securing your property’s exterior is the first line of defense, monitoring critical interior spaces is equally important. The strategy for interior camera placement shifts from broad deterrence to targeted oversight. High-traffic common areas and rooms with high-value assets each require a distinct approach to protect people, property, and sensitive information.
Effective interior surveillance provides a clear record of activity, helps resolve disputes, and protects your most valuable assets from both internal and external threats. It's about creating an environment of accountability and safety without compromising the privacy of tenants, employees, or residents.
Prioritizing Common Areas and Choke Points
Your building's common areas are its arteries. Lobbies, mailrooms, and elevator banks are natural choke points where nearly everyone passes, making them ideal locations for cameras. The goal here is not intrusive monitoring; it’s about maintaining security and capturing a clear view of all foot traffic.
- Lobbies and Reception Areas: A camera with a wide field of view is essential here to capture the entire space, including all entrances and the reception desk.
- Mailrooms and Package Areas: With package theft on the rise, a camera focused directly on this area acts as a powerful deterrent and provides crucial evidence if an item goes missing.
- Elevator Banks and Stairwells: Monitoring these transition points is key to tracking movement. A camera covering the elevator lobby on each floor helps complete the picture of who is moving throughout the building.
For these public-facing spaces, discreet dome cameras are often the best choice. Their subtle design blends into the ceiling, providing effective monitoring without making people feel constantly watched.
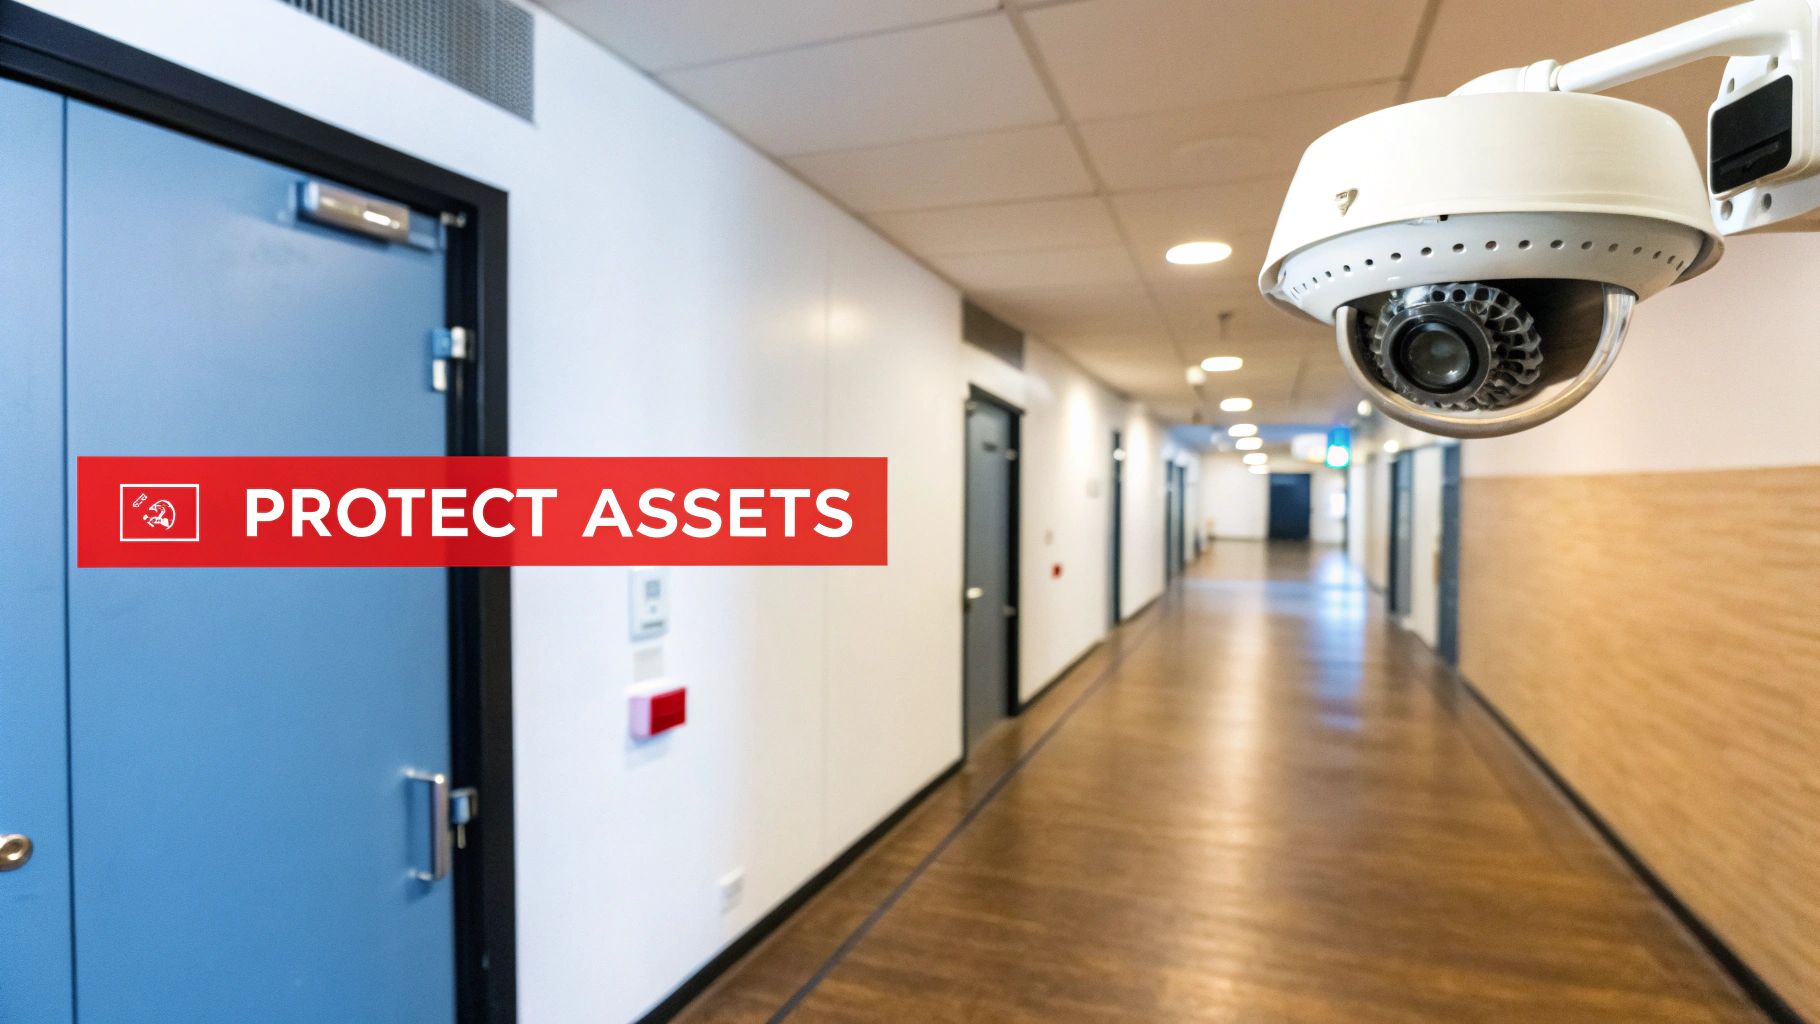
Securing High-Value Asset Locations
Certain rooms contain assets that are either critical to operations or are prime targets for theft. These areas—such as server rooms, inventory storage, and offices where cash is handled—demand a more focused and overt surveillance strategy.
Here, the primary goal is asset protection. Bullet cameras often work well in these situations. Their visible, directional nature sends a clear message: this area is under direct surveillance.
When protecting a critical space like a server room, covering the doorway is standard practice. However, an often-overlooked best practice is adding a second camera inside the room, aimed directly at the equipment racks. This provides an essential record of any interaction with your most sensitive hardware.
For facilities managing extensive data infrastructure, a specialized approach is non-negotiable. You can learn more about building a multi-layered defense in our guide to security for data centers, which details how surveillance must integrate with access control and environmental monitoring.
Conducting an Interior Risk Assessment
For facilities directors and HOA boards, the first step is to pinpoint your property's unique interior vulnerabilities. A simple walkthrough can reveal your highest-risk areas. Use this checklist as a guide.
Interior Risk Assessment Checklist
- Identify High-Traffic Zones: Where do most people congregate or pass through? (e.g., Lobbies, main hallways)
- Pinpoint High-Value Assets: What are your most critical assets and where are they stored? (e.g., Servers, inventory, resident files)
- Locate Unsupervised Areas: Which spaces lack a regular staff presence? (e.g., Amenity spaces like gyms or pools, utility rooms)
- Assess Lighting Conditions: Are there poorly lit hallways or rooms that could create blind spots or yield poor image quality at night?
- Review Incident History: Where have past incidents like theft, vandalism, or disputes occurred?
This assessment provides a clear, data-driven map of where your cameras will have the greatest impact, ensuring resources are focused on protecting what matters most.
Integrating Cameras into a Smarter Security System
Modern surveillance is much more than passive recording. While thoughtful camera placement provides a solid foundation, the real power comes from integrating your cameras into an intelligent, responsive security ecosystem. This transforms them from passive recording devices into proactive tools that help anticipate and respond to threats in real time.
For property managers and facilities directors, this integration delivers the greatest return on your security investment. It’s about connecting well-placed cameras to a system that doesn't just collect data, but actively analyzes it, alerts the right people, and helps verify incidents the moment they happen.
Moving from Reactive Recording to Proactive Alerts
The most significant advancement in surveillance technology has been AI-powered analytics. Unlike older motion detectors that trigger an alert for every passing shadow, modern systems can be trained to identify specific, unusual activities that truly require attention.
This intelligent detection is a game-changer, especially for properties in busy areas like Los Angeles or San Jose where constant motion is a given. Instead of sifting through hours of irrelevant footage, your system automatically flags the events that matter.
- Loitering Detection: The system can alert you if an individual remains in a restricted area, like a loading dock or parking garage, for an unusual length of time after hours.
- Perimeter Breach: AI can distinguish between an animal and a person attempting to climb a fence, sending an immediate alert for a legitimate security risk.
- Unusual Vehicle Behavior: A car circling a parking lot multiple times or stopping in a fire lane can trigger a notification for review.
This turns your camera network into a 24/7 digital watch officer. To enhance this, you can integrate related technologies like lighting motion sensors. These can instantly illuminate an area when a camera detects motion, improving video quality and acting as a powerful deterrent.
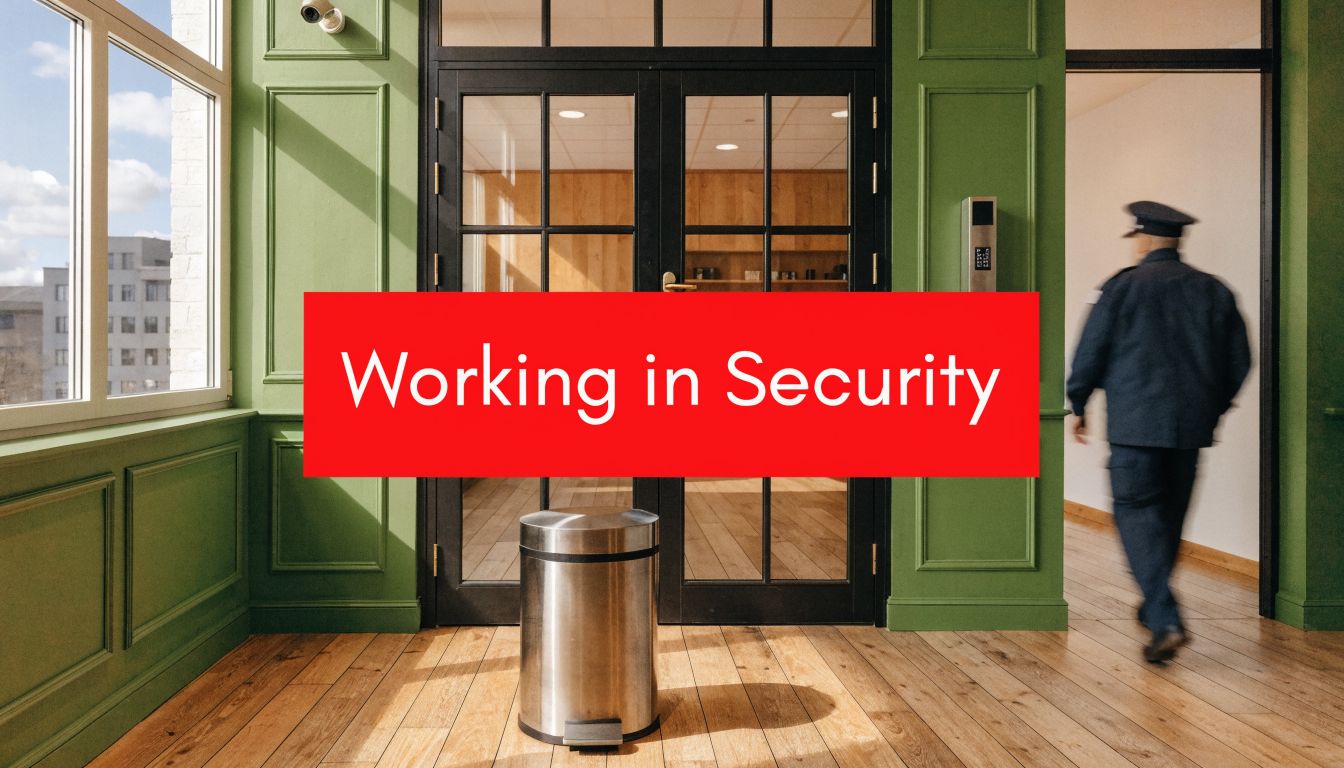
The Power of a 24/7 Security Operations Center
Smart cameras are powerful, but a team of trained professionals ready to act on their alerts provides an entirely different level of security. This is where a Security Operations Center (SOC) becomes invaluable. When an AI-powered camera detects a potential threat, it can send a real-time video feed directly to our SOC.
This remote monitoring allows our security professionals to immediately verify the alarm. Is it just blowing debris, or is there a genuine security incident in progress?
A camera system that isn't actively monitored is primarily a forensic tool—used after a loss has already occurred. By connecting it to a live SOC, you transform it into a preventative tool that can help stop incidents before they escalate. It’s the difference between documenting a problem and actively solving it.
Once our SOC team verifies a threat, they can initiate a swift and appropriate response. This could involve activating an on-site alarm, using a loudspeaker to deter the individual, or dispatching one of our professional vehicle patrol units to the location. This blend of smart technology and human expertise ensures every alert is handled with precision.
Legal and Privacy Considerations
As you build your security ecosystem, it is crucial to address legal and privacy considerations. A well-designed surveillance program should build trust, not create unease for your tenants, employees, or visitors. Transparency is key.
Best Practices for Compliance and Trust:
- Post Clear Signage: Always install clearly visible signs at all entrances and monitored areas stating that video surveillance is in use. This is a legal requirement in many jurisdictions and enhances the deterrent effect.
- Develop a Written Policy: Create a formal policy that outlines the purpose of the surveillance system, who has access to the footage, and data retention periods. Making this available to residents or employees fosters transparency.
- Avoid Private Areas: Never place cameras where people have a reasonable expectation of privacy. This includes restrooms, locker rooms, or aimed directly into residential windows.
- Secure Your Data: Ensure your video feeds and recordings are encrypted and protected by strong access controls to prevent unauthorized viewing or tampering.
By thoughtfully integrating technology with professional oversight and transparent policies, you create a security system that is not only effective but also responsible and respectful.
Building Your Custom Surveillance Plan
Applying these strategies is how you transform a collection of cameras into a true security system. The final step is creating a surveillance map built specifically for your property’s unique layout, risks, and blind spots. The goal is to move from general best practices to a concrete plan that leaves no room for vulnerabilities.
This requires more than looking at a blueprint. You need to physically walk your property with a critical eye. Where does afternoon sun create a blinding glare at your main entrance? Are there blind spots created by new landscaping or architectural columns? These real-world details are what matter most.
Charting Your Property's Vulnerabilities
Start with a site plan or a simple hand-drawn map of your property. Then, walk the entire perimeter and interior, marking key areas as you go.
- Identify all access points: This includes every door and gate, as well as ground-floor windows, roof hatches, and any other potential entry point.
- Pinpoint high-risk zones: Mark locations that are frequent targets, such as mailrooms, loading docks, server rooms, and common amenity spaces.
- Map out blind spots: Note every area obscured by pillars, dense foliage, or tight corners where someone could remain hidden from view.
- Assess lighting conditions: Pay close attention to poorly lit spots, especially along perimeter fences and in parking garages, where camera performance will be most challenged at night.
This hands-on assessment ensures your plan is based on the reality of your property, not just assumptions.
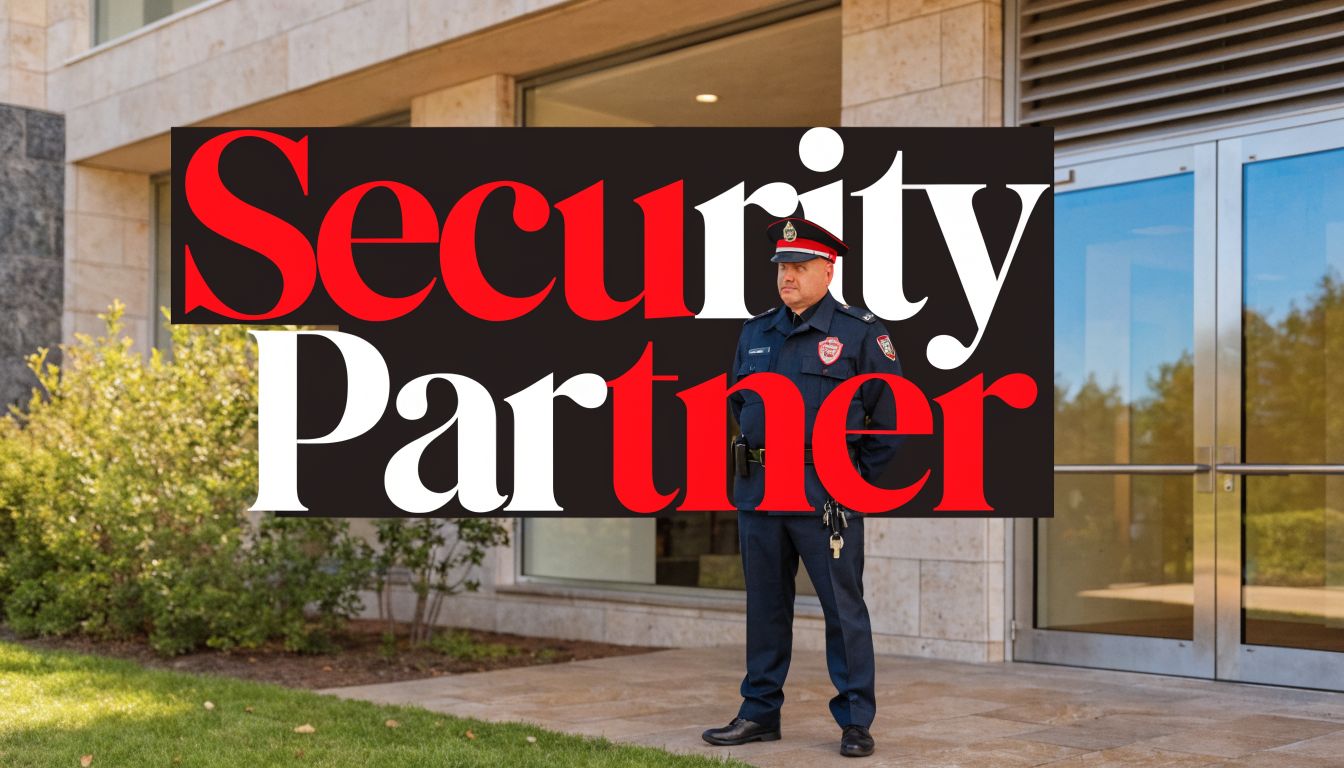
When to Call in a Professional Partner
A DIY plan is an excellent starting point, but flawless installation and effective monitoring are where expertise truly counts. Knowing when to bring in a security partner like Overton Security is a critical part of the process. A professional consultation ensures you've selected the right cameras, placed them to avoid common mistakes, and integrated everything into a 24/7 monitoring system that actually works.
A well-drawn map is a great tool, but it can't account for the subtle complexities of camera technology and human behavior. We often find that a slight adjustment in a camera’s angle or lens type can be the difference between capturing a useless shadow and obtaining clear, actionable evidence.
This is how passive cameras are transformed into an active response system, as this flow illustrates.
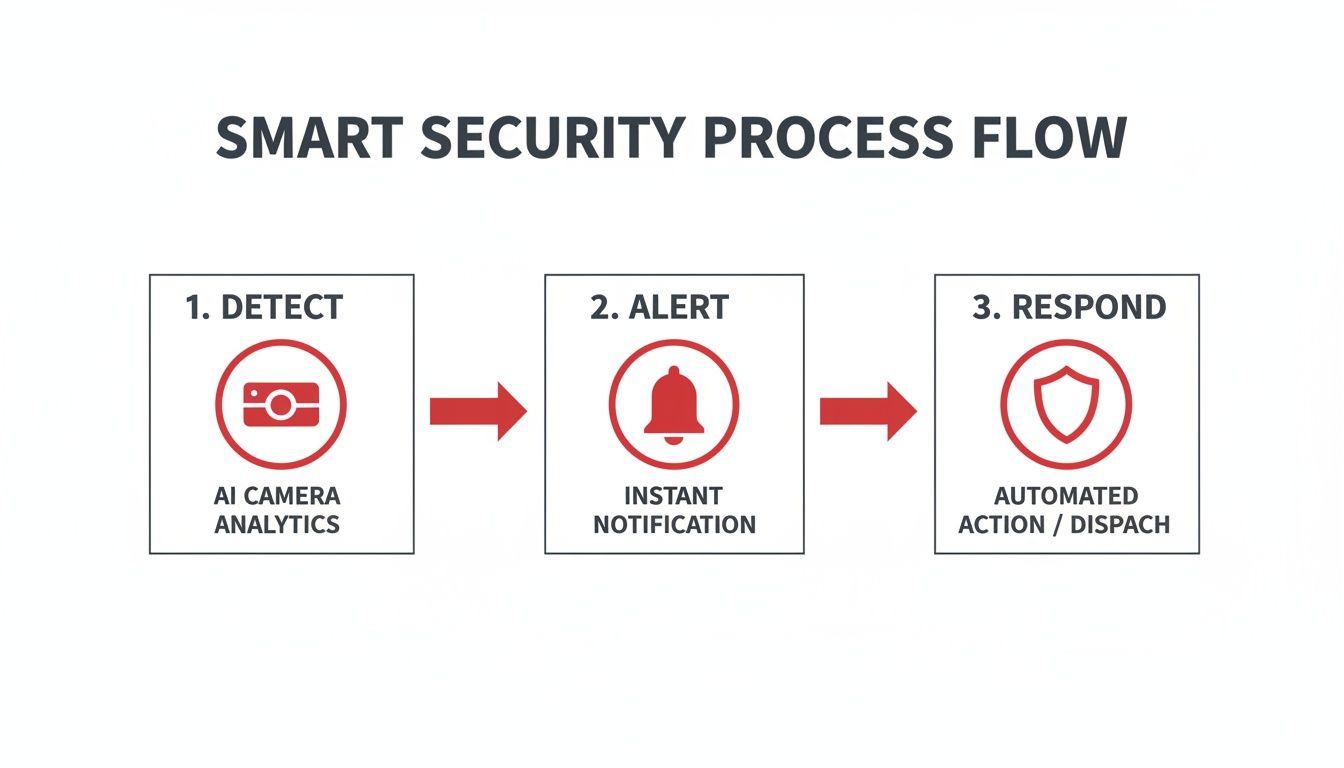
This process shows how professional integration moves beyond simple recording. It’s about intelligent detection and immediate action—the core of any truly effective security strategy.
Common Questions About Camera Placement
After 26 years of designing security plans, we’ve heard nearly every question imaginable about camera placement. While every property is unique, some concerns are common among property managers and business owners.
Here are a few of the most frequent questions we address.
Should My Cameras Be Visible or Hidden?
This is a classic strategy question, and the best answer is almost always a combination of both.
Visible cameras are powerful deterrents. When a potential intruder sees them covering a parking lot or main entrance, it sends a clear message: "This property is monitored." Often, they will simply move on to an easier target. This makes visible cameras ideal for perimeters and obvious points of entry.
On the other hand, hidden or discreet cameras are valuable for capturing authentic behavior. They are useful for addressing internal issues like employee theft or for monitoring sensitive areas without creating an intrusive atmosphere. A smart security design uses visible cameras to deter external threats and discreet ones for targeted oversight where needed.
How Many Cameras Do I Really Need?
There is no single correct number. The right quantity depends on your specific security goals and property layout. The objective isn't total coverage; it's strategic coverage. Begin by focusing on the most critical zones identified in your risk assessment.
Consider:
- All entry and exit points (doors, windows, loading docks)
- Areas where high-value assets are stored
- Primary routes for vehicle and foot traffic
A common misconception is that more cameras automatically means better security. Our experience shows that four well-placed cameras covering your most vulnerable points are far more effective than ten cameras scattered without a clear purpose. Focus on addressing the blind spots in your highest-risk areas first.
Start with the essentials. You can always expand the system later if you identify gaps. A professional assessment can help you map out an efficient layout that maximizes your investment without unnecessary cameras.
Can I Install Cameras Pointing at a Neighboring Property?
This is a firm no. Aiming cameras to capture footage of a neighboring business or private residence is a serious legal and privacy violation. Your surveillance system must be focused exclusively within your own property lines.
Ensure the field of view for each camera ends where your property does. This is critical for avoiding legal issues and maintaining good relationships with your neighbors. If a camera's view unavoidably captures a small portion of a neighboring area, use the privacy masking features built into modern systems. This allows you to digitally black out specific sections from being recorded, demonstrating a commitment to responsible and ethical surveillance.
A well-designed surveillance plan is the cornerstone of any proactive security strategy. If you're ready to ensure your property is protected by a system built on experience and supported by 24/7 professional oversight, connect with the team at Overton Security. Let us help you build a solution that delivers true peace of mind. Learn more at https://www.overtonsecurity.com.