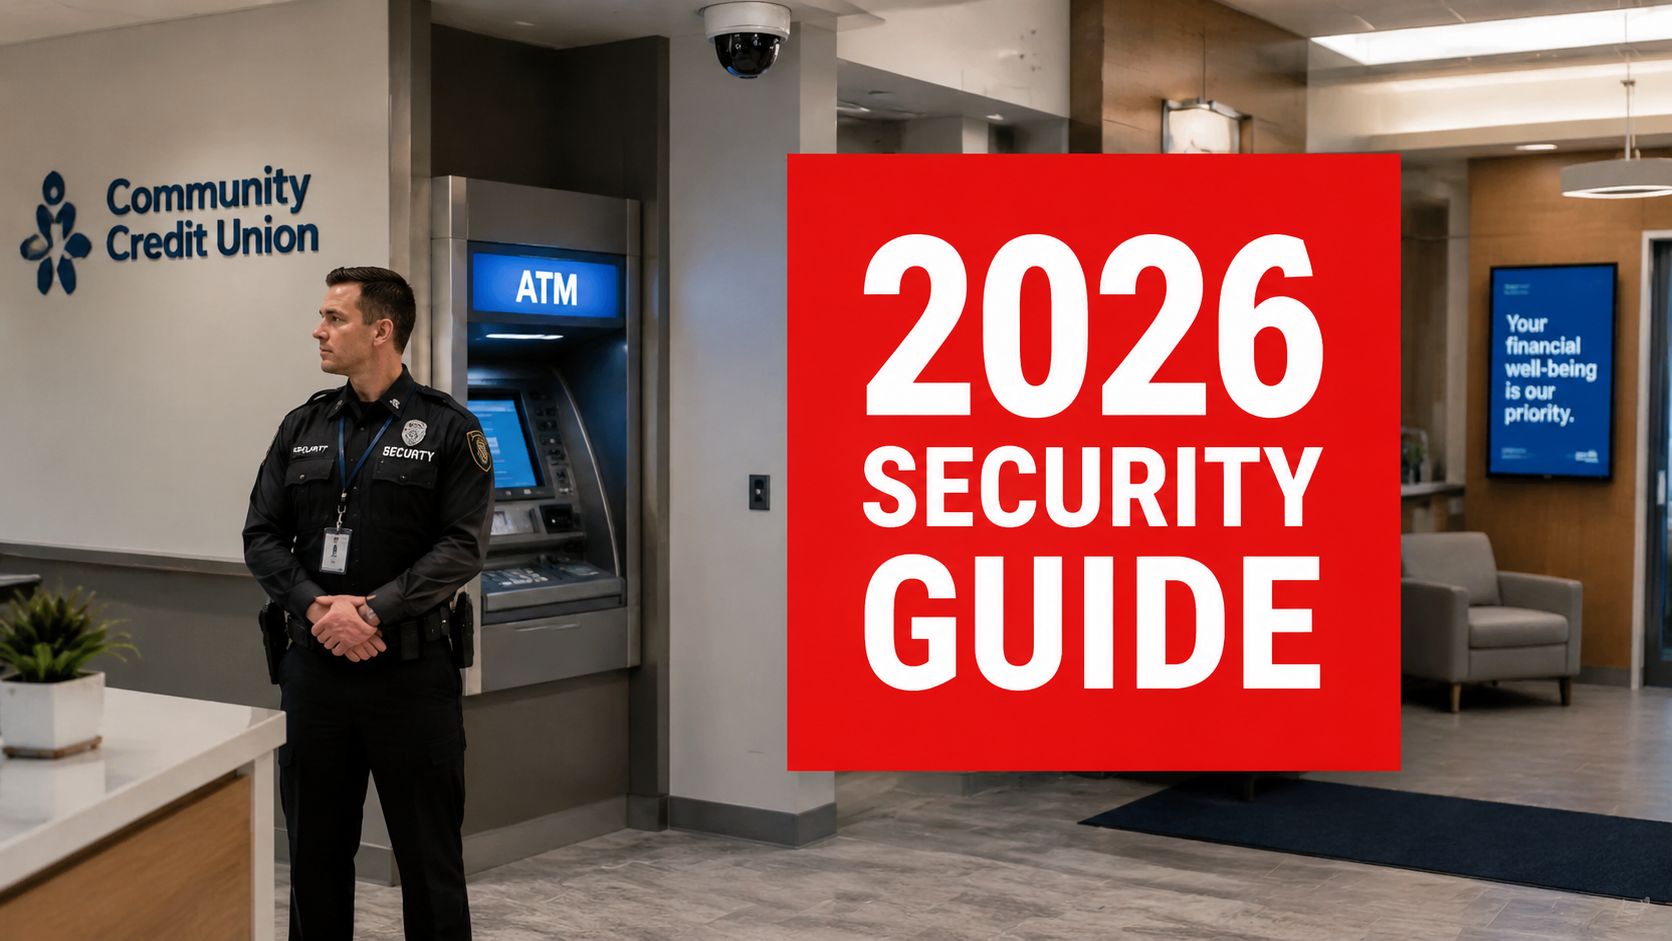
Deciding where to put surveillance cameras involves more than just pointing them at a door. An effective system that truly protects your property begins with a strategic plan. The most reliable camera placements are always the result of a thorough site assessment—a detailed analysis of a property's unique vulnerabilities, traffic patterns, and potential blind spots before any hardware is installed.
Start With A Strategic Site Assessment
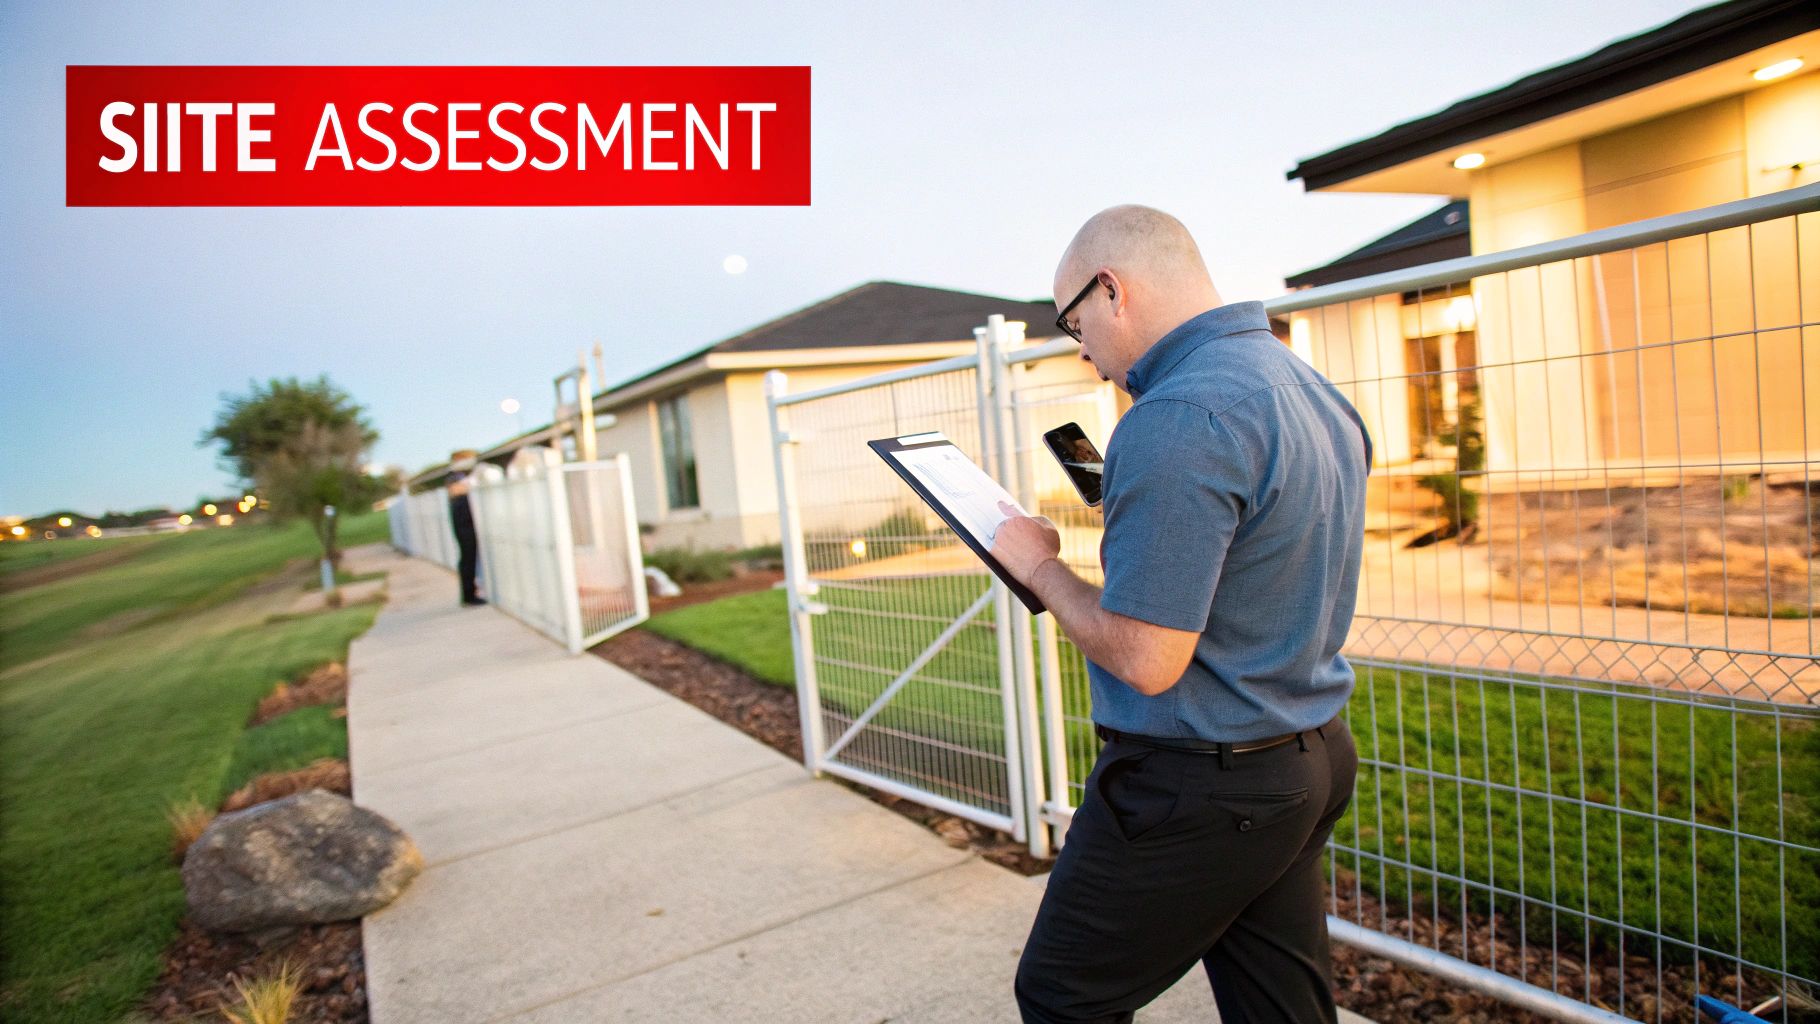
Before a single camera is mounted, the most crucial step is to understand your property from a security perspective. A professional site assessment isn’t just a quick walkthrough. It's a detailed analysis of your property’s layout, its daily use, and its specific security risks.
This process helps build a surveillance plan that fits your environment perfectly, whether that’s a busy retail center in Los Angeles or a quiet residential community in San Jose. This initial evaluation is the foundation of a robust security posture. The goal is to think like a potential intruder to identify the paths they might take and the areas they might target.
Mapping Your Property’s Vulnerabilities
First, it’s essential to create a "risk map" of your property. Walk the entire perimeter and interior, taking detailed notes of any potential points of concern. On-the-ground evaluation provides insights that a simple blueprint or satellite view could never reveal.
As you walk the site, keep an eye out for these key areas:
- Primary Entry and Exit Points: This includes all doors, gates, loading docks, and main walkways. Covering these is non-negotiable for monitoring traffic.
- High-Value Areas: For a retail store, this means the cash registers and high-theft merchandise aisles. On a construction site, it’s the material laydown yard and equipment storage areas.
- Hidden or Unlit Areas: Pay close attention to blind spots created by landscaping, building corners, or poor lighting. These are common hiding spots and ideal locations for unauthorized access.
- Common Areas and Choke Points: Consider lobbies, mailrooms, stairwells, and parking lot entrances. These are places people naturally pass through, making them crucial for monitoring activity.
A common oversight is focusing only on what you want to protect instead of how someone might try to access it. When you map out potential intruder paths—like a low section of fence or an unlit side yard—you can place cameras to proactively detect and deter threats, not just record an incident after it happens.
This process helps you prioritize camera locations where they'll have the greatest security impact. Understanding the core principles of what is physical security ensures your camera system acts as a real deterrent, not just a passive recorder. With 26 years of experience, we know that a well-planned system based on a comprehensive assessment is the difference between simply having cameras and achieving true security.
Quick Guide To Priority Camera Placement Zones
To help you get started, here’s a summary of the most critical zones to cover, broken down by common property types.
| Priority Zone | Primary Goal | Common Property Types |
|---|---|---|
| Entrances & Exits | Capture clear facial IDs of everyone entering/leaving. | Residential, Retail, Multi-Family, Healthcare |
| Parking Lots/Garages | Monitor vehicle activity, deter theft and vandalism. | Retail, Multi-Family, Healthcare, Parking Lots |
| Perimeter Fences | Detect unauthorized access and perimeter breaches. | Construction, Industrial, Multi-Family |
| High-Value Assets | Protect specific items like cash registers or equipment. | Retail, Construction, Offices |
| Common Areas | Observe general activity in lobbies, mailrooms, hallways. | Multi-Family, Healthcare, Offices |
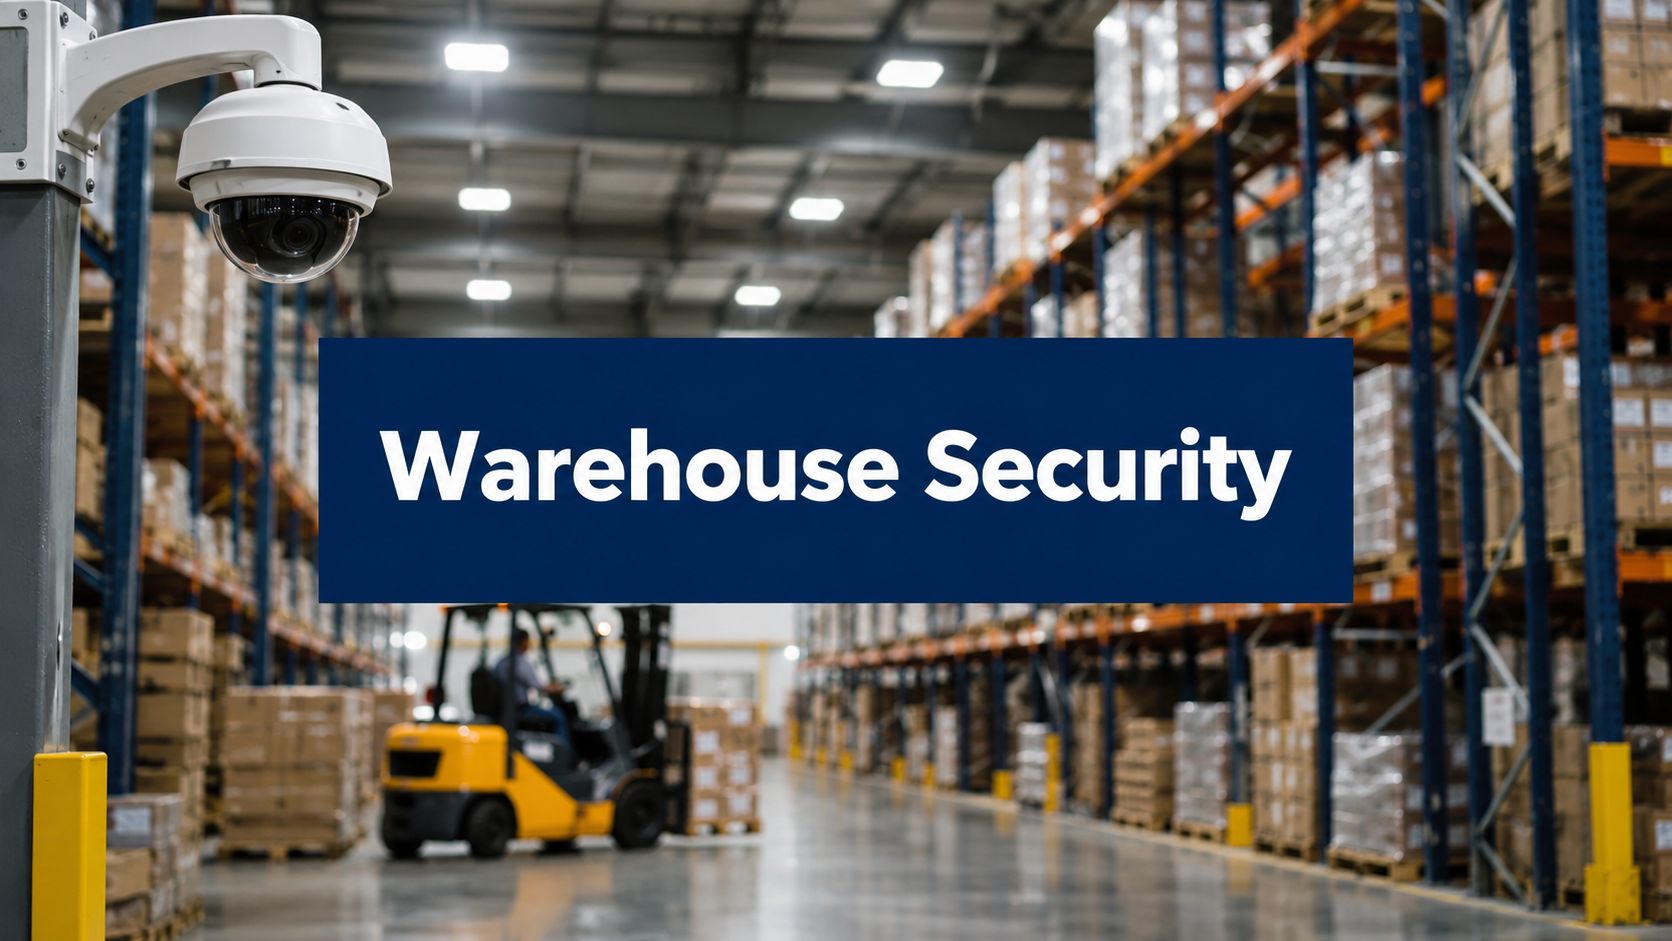
| Loading Docks | Monitor deliveries, prevent inventory theft. | Retail, Warehouses, Healthcare |
While every property is unique, this table provides a solid starting point for thinking about where your surveillance coverage is needed most. The key is to match the camera's location to a specific security objective.
Securing Your Perimeter Entrances And Exits
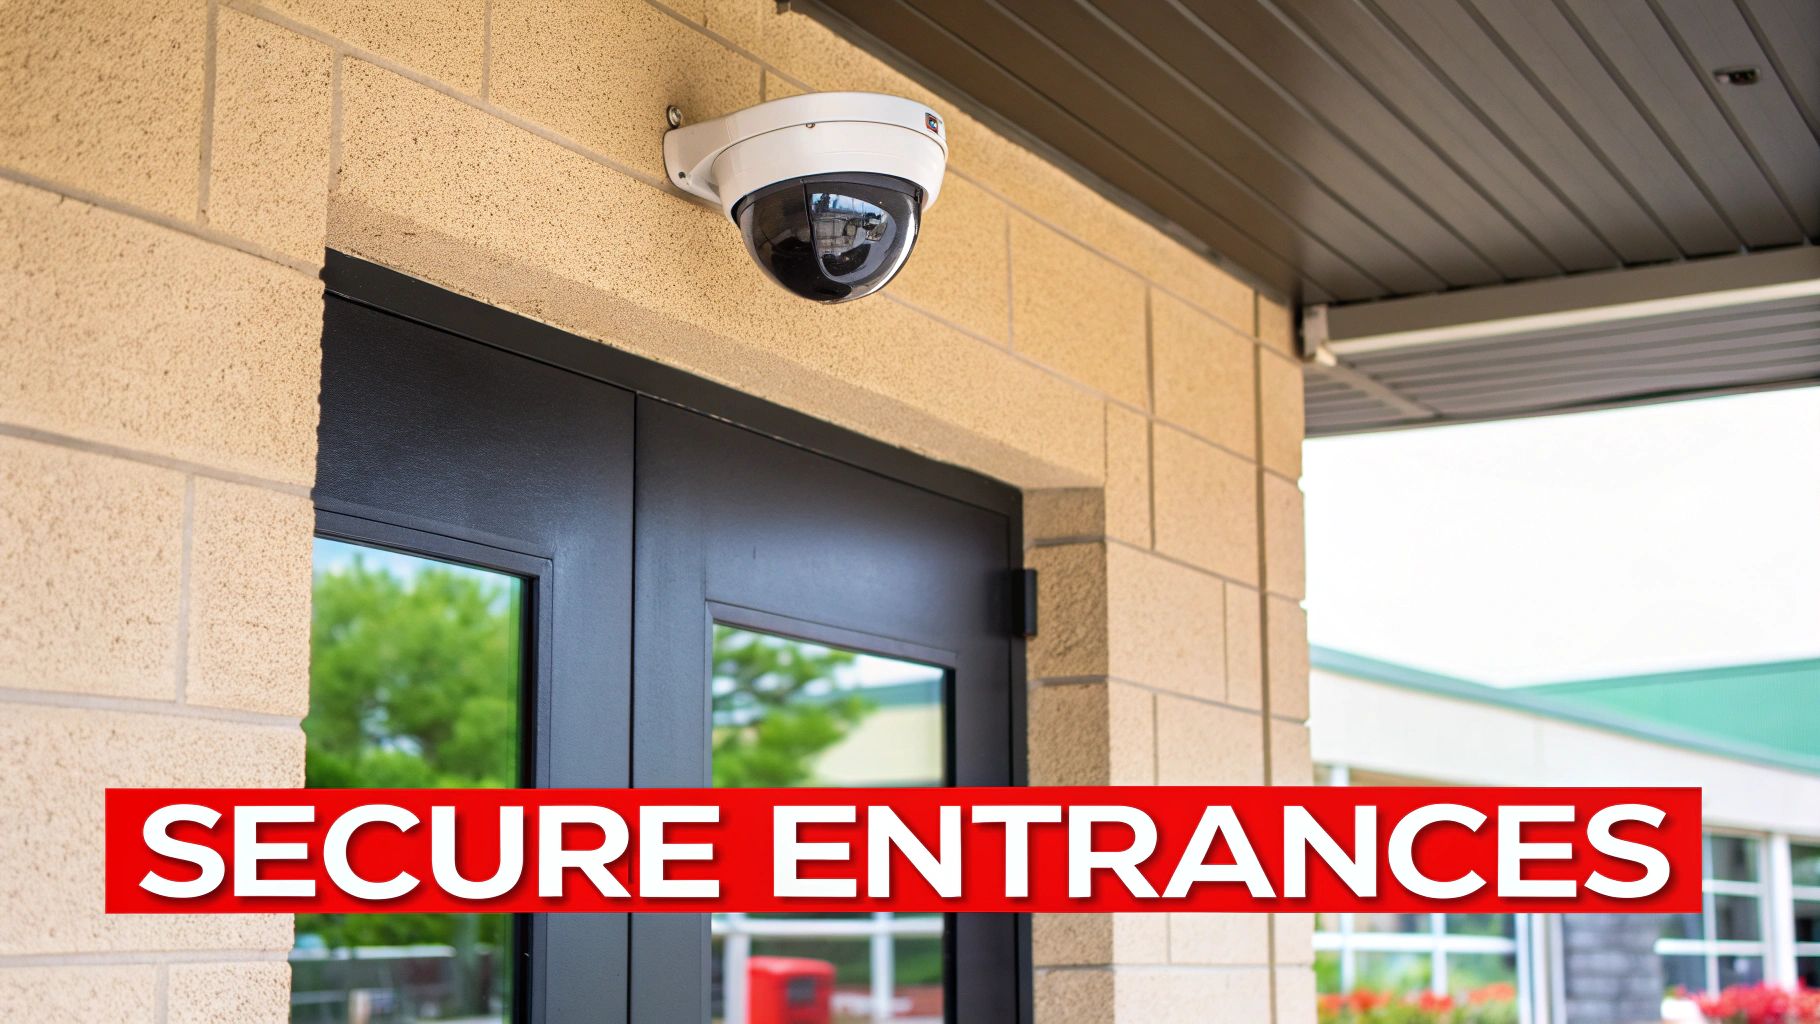
Once you’ve mapped your property’s vulnerabilities, the next area of focus should be the most critical choke points: your entrances and exits. These locations act as the gatekeepers of your property, controlling the flow of every person and vehicle. Placing surveillance cameras here isn't just a good idea; it's the foundation of any reliable security strategy.
From a home's front door to a busy retail loading dock, these points are your best opportunity to get a clear record of everyone coming and going. A well-placed camera serves two important functions. It acts as a powerful deterrent, making potential troublemakers think twice. And if an incident occurs, it provides clear, actionable evidence. For property managers, this is where a security plan proves its worth daily.
Achieving Clear Identification At Every Doorway
The main goal for any camera at an entrance is to capture a clean, identifiable image of each person's face. While this sounds simple, a few common mistakes can render your footage unusable. Success comes down to getting the camera height, angle, and lighting just right.
Placing a camera too high is a frequent error, often resulting in a great shot of the top of someone's head. The ideal mounting height is generally between 8 to 10 feet from the ground. This keeps it just out of easy reach for tampering but low enough to capture facial details as people approach.
The angle is equally important. The camera should be aimed slightly downward toward the entryway to capture the face of someone looking straight ahead. This requires considering the path people take as they approach the door.
We often see cameras mounted directly above a door, which typically results in footage of a hat or a hoodie. A more effective approach is to position the camera slightly off to the side and angle it back toward the doorway's center. This dramatically improves the chances of capturing a full facial view, turning a basic recording into usable evidence.
This small adjustment is a technique we've refined over our 26 years in the security industry, and it consistently delivers better results. It’s this attention to detail that separates a professional installation from a DIY attempt.
Overcoming Challenging Lighting Conditions
Lighting is often the biggest challenge for entrance cameras. Pointing a camera from a dim interior toward a bright exterior will create a "backlit" image where the person appears as a dark silhouette. This is a common issue for storefront and lobby cameras.
The solution is to use cameras with Wide Dynamic Range (WDR) technology. WDR functions much like the human eye, balancing the darkest and brightest parts of a scene to create one clear, detailed image. It ensures you can see the face of a person standing in a bright doorway, not just their outline.
For entrances that are dark at night, cameras with powerful infrared (IR) night vision are essential. Modern IR can illuminate a subject dozens of feet away in total darkness, ensuring your 24/7 monitoring is never compromised after sunset.
The Power Of Visible Deterrence In Commercial Settings
For commercial properties, the psychological impact of a visible camera is significant. When a potential shoplifter or trespasser sees a professional-grade camera pointed at the entrance, they immediately understand they are being monitored.
This visual cue is a simple yet highly effective layer of defense. In busy retail centers and commercial buildings across markets like California, placing cameras at all entrances and exits is one of the most reliable ways to deter theft. In fact, businesses with visible cameras at their doors often see 30-50% reductions in shoplifting, as opportunistic individuals are less likely to take a risk.
This deterrent effect is even stronger when cameras are integrated with other security measures. Combining visible cameras with clear signage and a robust access control system creates a formidable barrier. This integrated approach is at the heart of the comprehensive solutions we build for our clients, reinforcing a powerful sense of security and control.
Protecting Parking Lots And Common Areas
Your property’s security doesn't stop at the front door. For many businesses and residential communities, the greatest risks are found in open spaces like parking lots, garages, and common areas. These locations are often targets for vehicle break-ins, vandalism, and loitering, making a solid surveillance plan essential.
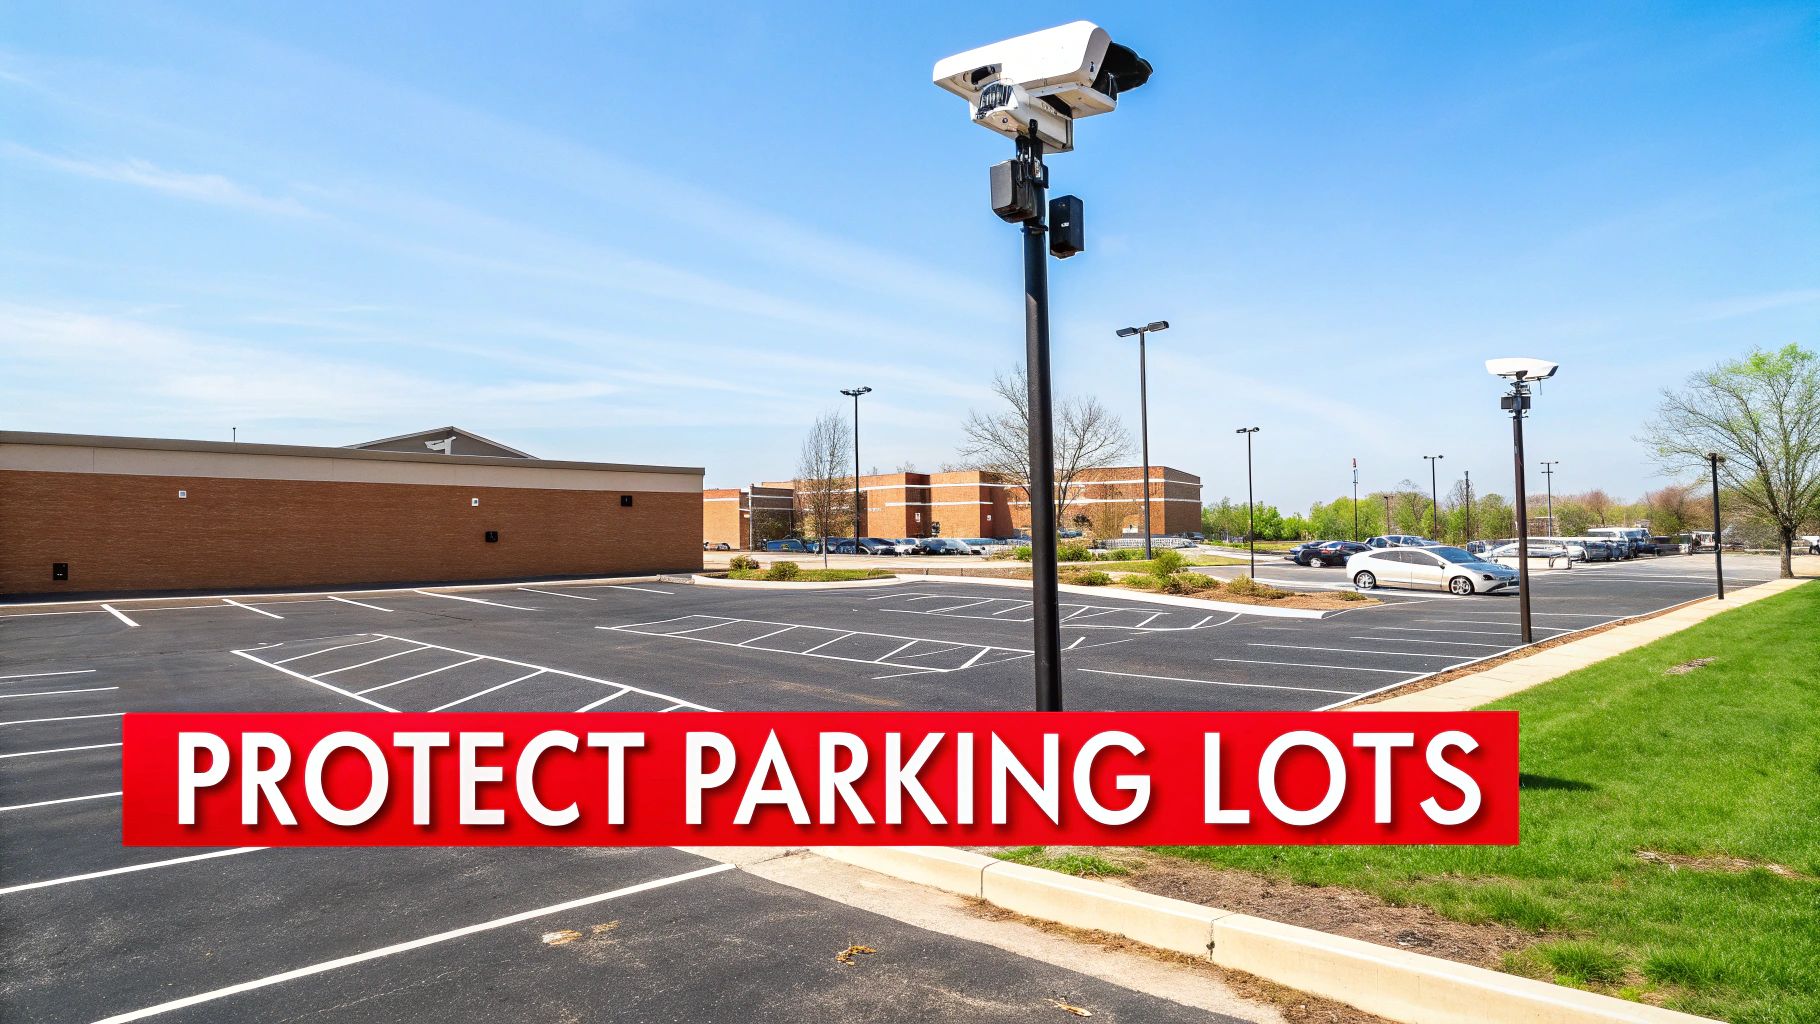
Extending your security to cover these areas requires a different approach than monitoring doorways. You are dealing with large areas, variable lighting, and the need to capture fine details like license plates from a distance. Getting this plan right provides genuine peace of mind for tenants, customers, and employees.
Covering Large Spaces Without Blind Spots
The primary challenge with parking lots is their size. Installing a few fixed cameras often leaves massive blind spots where incidents can occur unseen. To solve this effectively, you need a smart mix of specialized cameras.
- Pan-Tilt-Zoom (PTZ) Cameras: These are the workhorses for covering large areas. A single PTZ camera can actively monitor a wide zone, zoom in on suspicious activity, and even follow a person or vehicle. When paired with remote monitoring, our SOC operators can take direct control of a PTZ to get a close-up look at a potential threat in real time.
- Multi-lens Panoramic Cameras: Another excellent tool is the panoramic camera. It uses several lenses within a single unit to create a seamless 180- or 360-degree view. This technology is perfect for gaining a complete picture of a parking garage entrance or a busy lot intersection, ensuring nothing goes unnoticed.
The objective is to create overlapping fields of view. By placing these types of cameras strategically, you eliminate the hidden corners and distant sections that often become security vulnerabilities.
Addressing Low-Light And No-Light Environments
Underground garages and poorly lit parking lots present their own set of challenges. Darkness can provide cover for unwanted activity, which means powerful camera technology is a necessity. Standard cameras are largely ineffective without adequate light, which is where more advanced imaging solutions become crucial.
For communities and high-rises in metro areas like San Jose and Long Beach, placing cameras in parking garages is critical. A staggering 60% of property crimes, including vehicle break-ins and vandalism, occur in these areas. Data shows that garages with effective overhead and perimeter cameras see 45% fewer auto thefts.
To counter these risks, you need cameras designed for dark environments. Infrared (IR) night vision can illuminate a scene in total darkness, providing crisp black-and-white video. For even more challenging situations, thermal cameras detect heat signatures, allowing them to spot someone hiding between cars or in bushes, regardless of lighting conditions.
When dealing with challenging visual conditions, choosing the right camera technology is paramount. Some are built for darkness, others for vast open spaces, and some for high-contrast scenes like a bright exit leading out of a dark garage.
Camera Technology For Challenging Environments
| Camera Technology | Best Use Case | Key Benefit |
|---|---|---|
| Infrared (IR) Cameras | No-light or extremely low-light areas like underground garages. | Provides clear black-and-white video in complete darkness. |
| Wide Dynamic Range (WDR) | Entrances/exits with strong backlight (e.g., bright daylight outside a dark garage). | Balances light and dark areas in the same scene to prevent silhouettes. |
| Panoramic (Multi-lens) | Intersections, open lots, and large common areas. | Delivers a complete 180° or 360° view without blind spots. |
| Thermal Cameras | Perimeter security and areas with foliage or visual obstructions. | Detects heat signatures, spotting intruders regardless of light or camouflage. |
Matching the camera to the specific environmental challenge ensures you get usable, actionable footage when you need it most.
Balancing Security and Privacy In Community Spaces
For HOAs and multi-family communities, determining where to put surveillance cameras in shared spaces like lobbies, mailrooms, and pools requires a careful balance. Residents want to feel safe, but they also have a right to privacy. The solution is to aim cameras at public, high-traffic zones while avoiding any views into private residences.
A common concern for HOA boards is ensuring their surveillance plan is both effective and respectful of residents. The best practice is to focus on access points—garage entries, lobby doors, mailroom entrances—rather than general gathering areas. This provides security where it's most needed without making residents feel like they are under constant watch.
This approach is about protection, not intrusion. When combined with visible security measures, like our clearly marked vehicle patrols, it creates a powerful, layered defense. The presence of both smart cameras and professional officers sends a clear message that the property is being monitored, which reassures residents and deters potential issues. Our extensive experience in creating comprehensive parking lot security solutions helps clients navigate these nuances effectively.
Specialized Strategies for Construction Sites
Construction sites present a unique set of security challenges. Instead of solid walls and a single front door, you're dealing with a constantly changing, often open space filled with valuable equipment and materials. After hours, a job site can be an attractive target for theft and vandalism. This vulnerability demands a specialized surveillance plan.
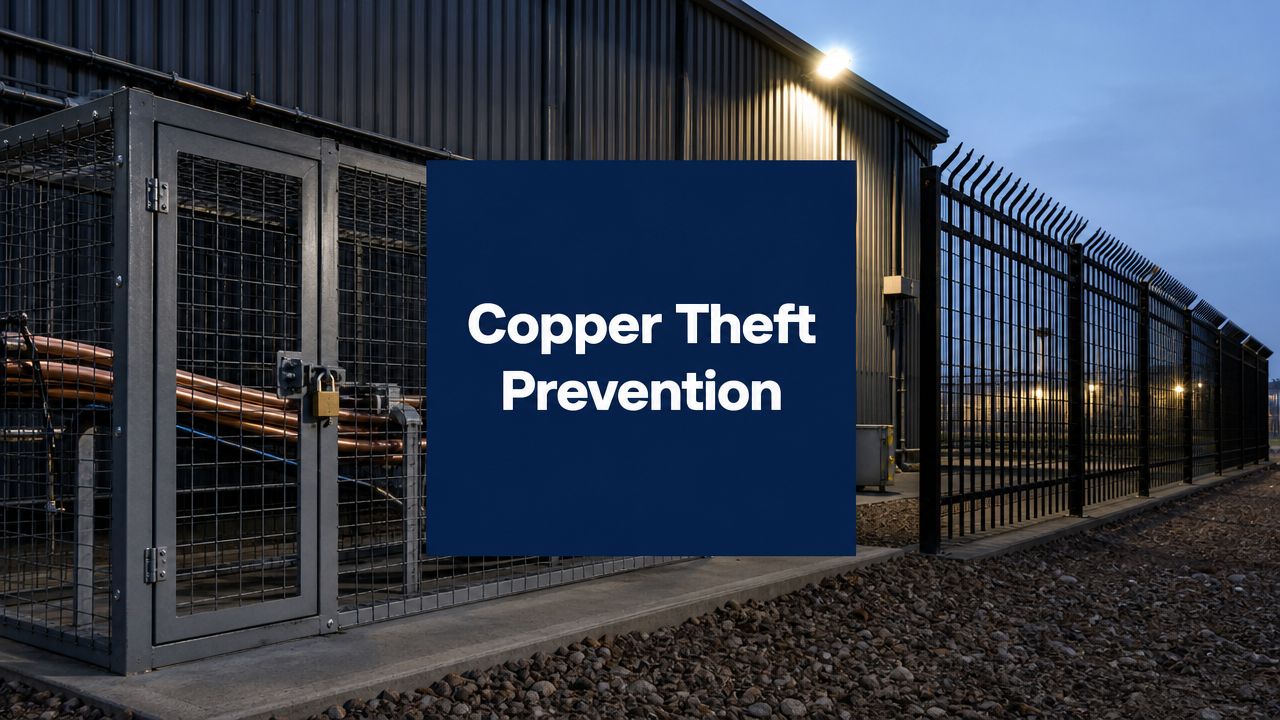
For any construction superintendent, placing cameras isn't about finding convenient angles. It’s about building a robust security perimeter around a dynamic landscape. The mission is to maintain a watchful eye on the primary targets—copper wire, lumber, heavy machinery, and tool containers—from every possible angle.
Prioritizing Key Vulnerability Zones
The first step is always to walk the site and identify your three biggest areas of risk: the perimeter, material laydown areas, and equipment staging zones. Each one requires its own camera strategy to be effective.
A solid surveillance plan for a construction site typically covers these bases:
- Perimeter Fencing: Every entry and exit gate needs a camera aimed directly at it to capture a clear view of every person and vehicle. Additional cameras should be placed at the corners of the fence line, aimed inward. This creates overlapping fields of view that eliminate blind spots where an intruder might attempt to breach the perimeter. Understanding the basics, like the role of proper fencing for construction sites, is the foundation for effective camera placement.
- Material Laydown Yards: This is often a primary target for theft. You'll want cameras with wide-angle lenses mounted high on poles or adjacent structures to get a bird's-eye view of the entire yard where materials like lumber, piping, and wiring are stored.
- Equipment Storage: Heavy machinery is expensive, and the project delays from theft are even costlier. Position cameras to watch over parked equipment like loaders, excavators, and generators. Pay special attention to cabs and fuel tanks, as they are common targets for thieves and vandals.
In high-risk areas like Fresno and Sacramento, construction site theft is a significant problem. Industry losses top $1 billion a year in the U.S. alone. However, job sites with 24/7 monitored perimeters see 70% less tool and material theft, a statistic that highlights the value of a proactive security plan.
Leveraging Mobile and Smart Technology
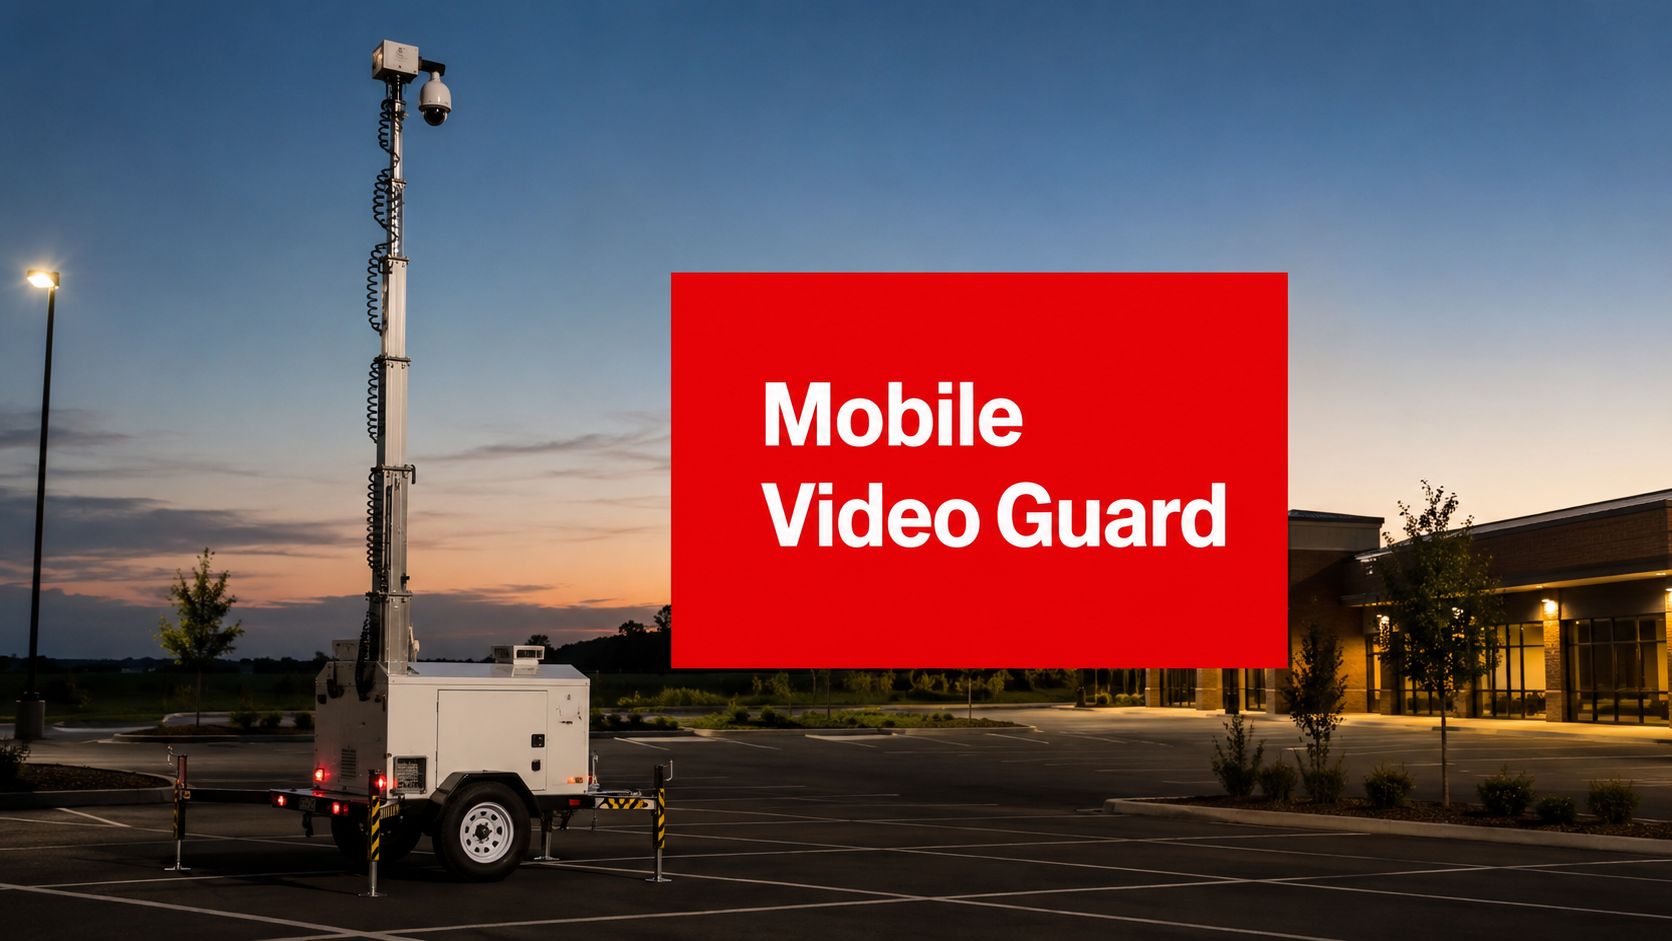
One of the biggest hurdles on a construction site is the lack of permanent infrastructure. In the early stages, you may not have reliable power or an internet connection, making traditional camera setups impractical. This is where modern technology provides a solution.
Mobile surveillance trailers are a game-changer for construction security. These self-sufficient units come with high-definition cameras, solar panels, and cellular transmitters. You can place one anywhere on the site and move it as the project evolves, providing powerful and flexible coverage from day one.
A common mistake superintendents make is setting up cameras once and forgetting about them. The perfect spot for monitoring a foundation pour will be completely useless once the framing is up. Mobile units and a plan to periodically reposition cameras are vital to maintain coverage from start to finish.
Today's cameras offer more than just recording. Time-lapse features can create a visual diary of the project's progress, which is perfect for keeping stakeholders informed. Additionally, crisp video footage is invaluable for settling liability claims, whether it’s a dispute over a delivery or an on-site incident.
At Overton Security, we blend this smart technology with human expertise. Our 24/7 Security Operations Center (SOC) monitors these feeds live. When an AI-powered camera flags a person in a restricted area after hours, our operators receive an instant alert. They verify the threat and can immediately dispatch one of our dedicated construction site patrol units. This turns a passive recording into an active, real-time response that stops theft in its tracks.
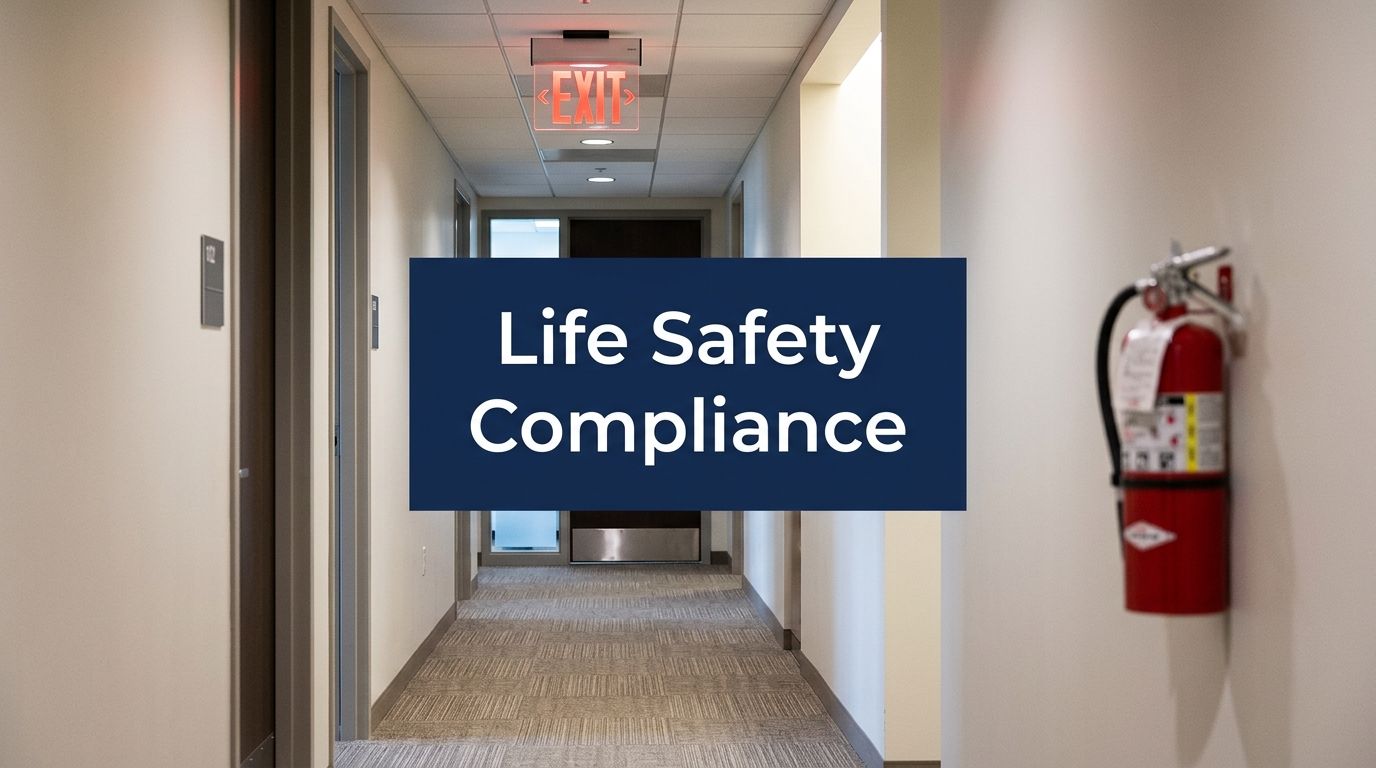
Getting the Installation and Compliance Right
Knowing where to place your surveillance cameras is a major part of the process, but the job isn't done yet. How a camera is installed—and whether it complies with legal standards—is just as critical. For property managers, this is where technical details meet legal responsibilities, creating a final system that's both effective and defensible.
This is the execution phase. It’s about the practical side of mounting hardware to prevent vandalism, finding the perfect angles to avoid sun glare, and ensuring your system is reliable day in and day out. At the same time, you must navigate the legal landscape to protect your organization from liability while respecting individual privacy.
Mastering Camera Mounting And Angles
The physical installation of your cameras can make or break their effectiveness. A poorly mounted camera is an easy target for tampering or can deliver unusable footage, wasting your investment. The key is to find the right balance between visibility and security.
As a general rule, we recommend mounting cameras at a height of 8 to 15 feet. This range is high enough to be out of easy reach but low enough to capture meaningful details like faces and license plates. A classic mistake is mounting cameras too high, which results in footage of people's hats and the roofs of cars—not helpful for identification.
Angles are just as important. You have to consider the sun's path and how light changes throughout the day.
- Avoid Direct Sunlight: Never point a camera directly into the sun. This causes lens flare and intense glare, which can wash out the image during sunrise or sunset.
- Watch Out for Backlighting: Be mindful of entryways where a dark interior meets a bright exterior. Without a camera that has good Wide Dynamic Range (WDR), people entering will appear as dark silhouettes.
- Secure Your Cabling: Exposed wires are an open invitation for a vandal with wire cutters. Always run your cabling through conduits or inside walls to protect the power and data lines. A camera without a connection is just a decoration.
The Legal Side of Surveillance and Compliance
Once your cameras are physically in place, you must ensure your surveillance practices are legally sound. Laws around video recording are about balancing security needs with a person's reasonable expectation of privacy. Getting this wrong can lead to serious legal complications.
The most straightforward and essential step is using clear and visible signage. Posting signs that read “This Area is Under Video Surveillance” accomplishes two crucial things. First, it’s a powerful deterrent, warning potential troublemakers they’re being watched. Second, it informs the public, which is a key part of legal compliance in many places, including California.
While laws can vary by state and even by city, transparency is always the best policy. Focusing your cameras on public-facing areas—like lobbies, parking lots, and walkways—is generally acceptable. However, recording in areas where people have a reasonable expectation of privacy, such as restrooms, locker rooms, or inside residential units, is strictly prohibited.
When evaluating different devices, a review of something like the Homeboy Security Camera can provide a good feel for modern options and features. However, one feature to be extremely cautious about is audio recording. Many states are "two-party consent" states, meaning you cannot legally record a conversation without the consent of everyone involved. To remain compliant, it's almost always best to disable the audio recording features on your security cameras unless you have a specific, legally-vetted reason to use them.
This flowchart breaks down a typical security process for a high-risk environment like a construction site, illustrating how physical barriers and asset protection form the foundation for good surveillance.
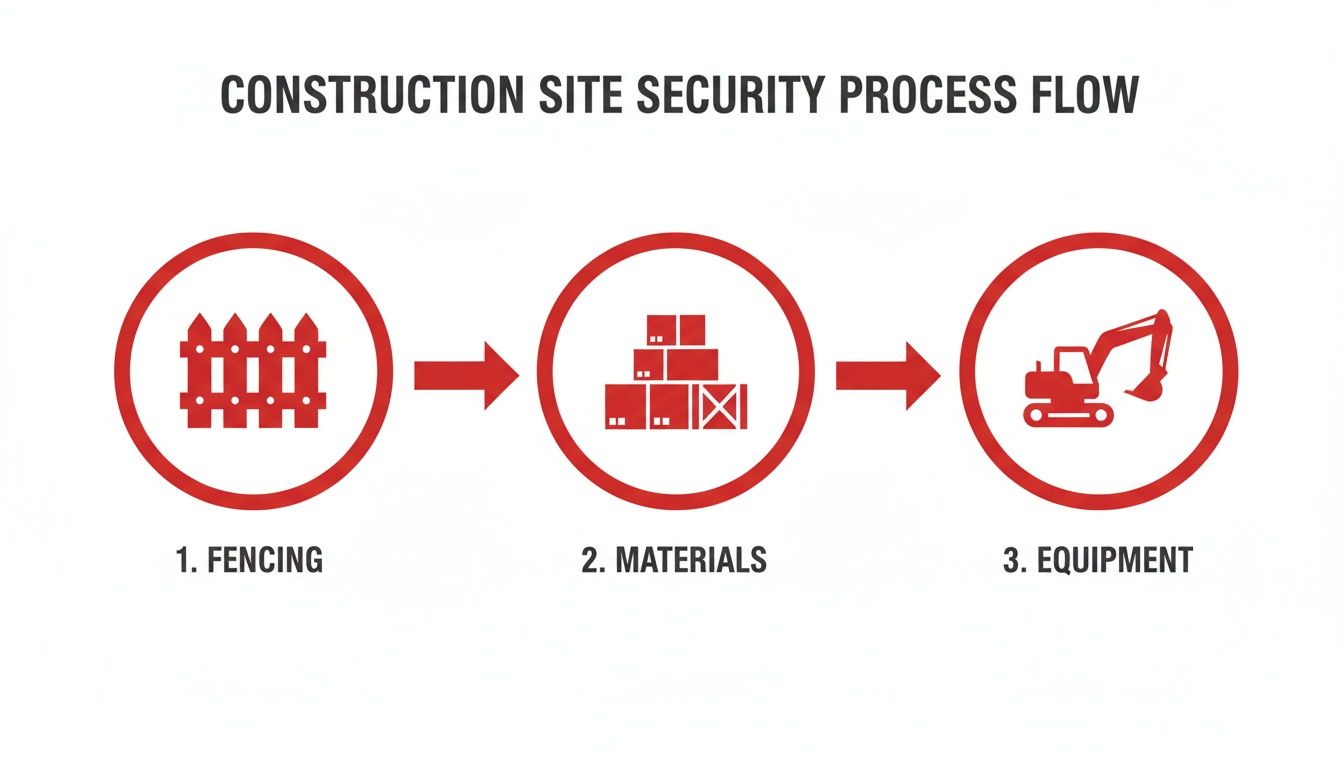
As you can see, a successful security plan isn't just about cameras; it integrates multiple layers, from securing the perimeter to protecting specific assets. These layers all help inform where your cameras should ultimately go. By following a structured approach and adhering to legal guidelines, any property manager can build a surveillance system that is both a powerful security tool and a responsible management practice.
Common Questions About Camera Placement
Even with a solid plan, questions often arise when determining the best spots for surveillance cameras. With our 26 years of experience, we've heard nearly all of them. Here are the answers to some of the most common questions we receive from property managers and business owners.
What Are The Most Common Mistakes In Camera Placement?
One of the biggest mistakes we see is placing cameras too high. While it provides a good bird's-eye view of an event, it’s completely useless for identifying who was involved. Another common error is ignoring lighting conditions, which leads to footage that is either washed out from glare or too dark to be useful.
A few other common oversights include:
- Creating Blind Spots: Failing to overlap camera fields of view can leave gaps for intruders to exploit.
- Forgetting to Secure Recorders: We've seen cases where the NVR or DVR is left in an unlocked closet or on a desk. A thief can simply walk out with all the evidence.
- Using Indoor Cameras Outdoors: An indoor camera is not built to handle rain, dust, and temperature changes and will fail quickly when exposed to the elements.
Our professional site assessments are designed to prevent these problems. We build a cohesive plan from the ground up that accounts for every angle, lighting challenge, and environmental factor.
How Important Is Camera Resolution Like 4K?
Resolution is critical if you need evidence that holds up. While 1080p is a good baseline, 4K resolution offers vastly better digital zoom capabilities. That can be the difference between identifying a license plate number and seeing a blurry rectangle.
However, that doesn't mean you need 4K everywhere. For a small office lobby, a 1080p camera is often sufficient. For a sprawling parking lot or a long driveway where you need to zoom in on details from a distance, 4K is the better choice.
A mixed-camera approach is often the smartest strategy. Use high-resolution cameras for your critical chokepoints and standard HD for general observation. This provides a great balance between crystal-clear performance and manageable data storage costs.
Do I Need Signs Saying The Area Is Under Surveillance?
Yes. In most places, including California, posting clear signage is not just highly recommended—it's often a legal requirement. For any commercial or public-facing property, these signs also serve as a powerful deterrent.
Posting signs is a simple way to mitigate liability by officially informing people they are being recorded. While specific laws vary, transparency is always the best policy. We make sure proper signage is a part of every security plan we design to ensure compliance and boost deterrence.
It’s a straightforward step that helps protect your organization and reinforces your property's security.
How Do Cameras Work With Professional Security Services?
This is where a passive recording system becomes an active, real-time security solution. Modern IP cameras can be linked directly to a 24/7 Security Operations Center (SOC), like the one we operate at Overton Security.
When a camera’s built-in analytics detects a potential threat—for example, a person loitering in a parking garage after hours—it sends an immediate alert to our professional operators. They can pull up the live feed, verify what’s happening, and instantly dispatch a mobile patrol unit or contact law enforcement.
This combination of smart technology and professional human response provides a much higher level of protection than unmonitored cameras ever could. It means incidents are addressed the moment they happen.
A well-planned surveillance system is a powerful tool, but it's only one part of a complete security strategy. For a solution that blends smart technology with the reliability of experienced professionals, trust Overton Security. Learn more about our customized security solutions today.